We lock our front doors. We protect our wallets. So why wouldn’t we protect our online accounts the same way? From personal email and social media to online banking and business systems, turning on multi-factor authentication (MFA) is one of the simplest and most effective ways to secure your digital life. Best of all, it usually takes just a few minutes.
Key Takeaways:
- MFA adds a powerful extra layer of security: Even if your password is stolen, attackers can’t access your account without a second code.
- It’s quick and easy to set up: Most accounts can be secured with MFA in under five minutes.
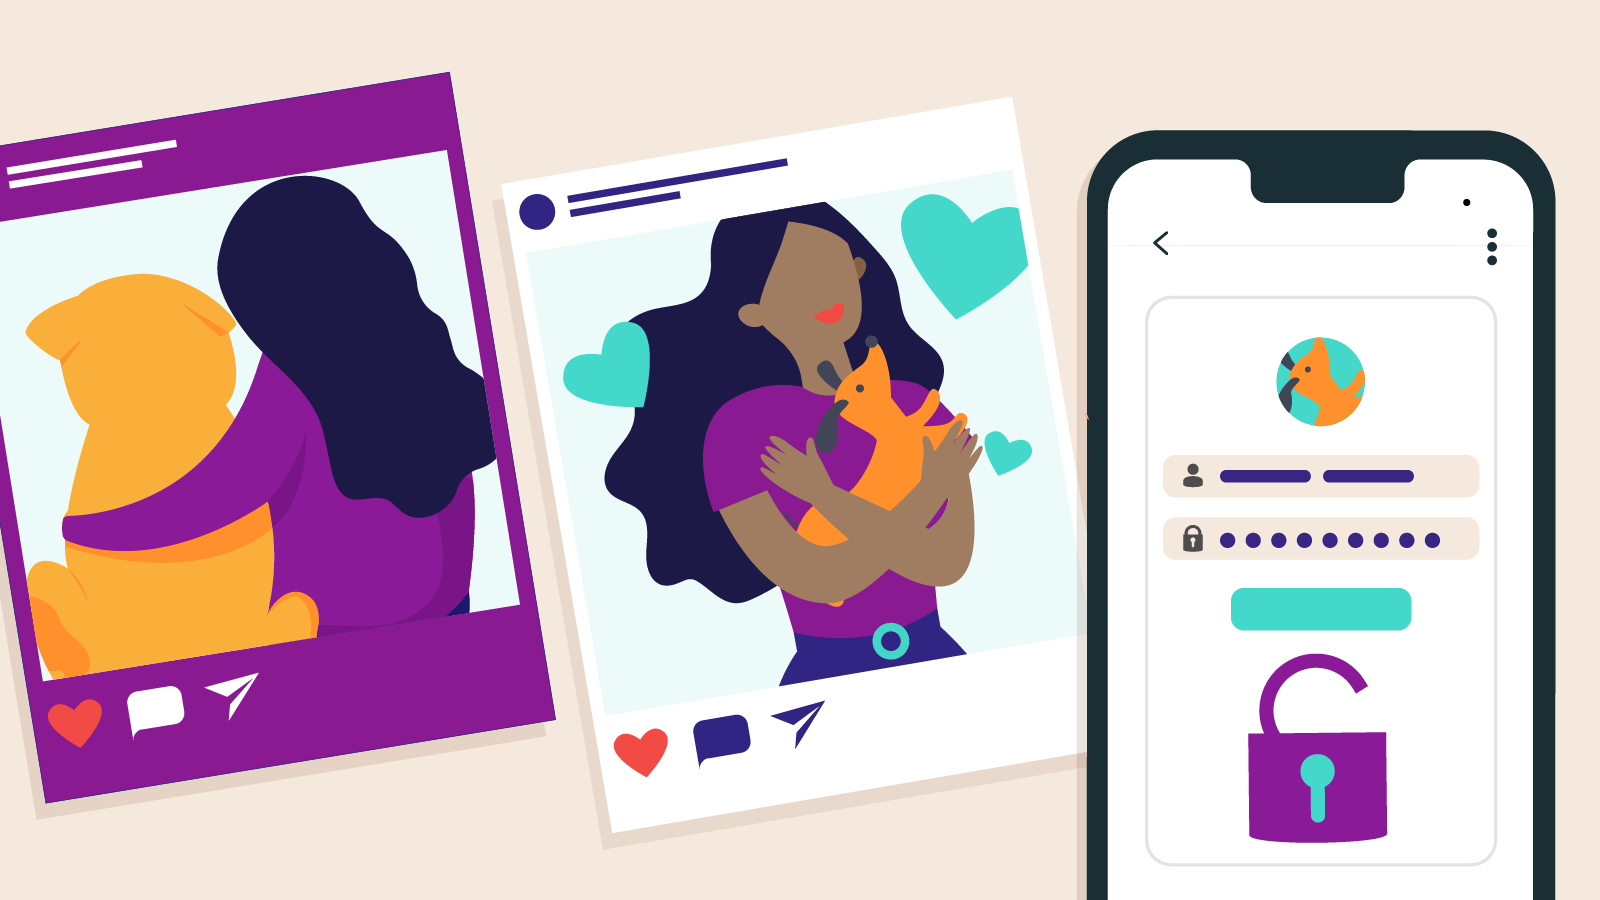
- Turn it on for your most important accounts first: Email, banking, social media and business tools should be top priority.
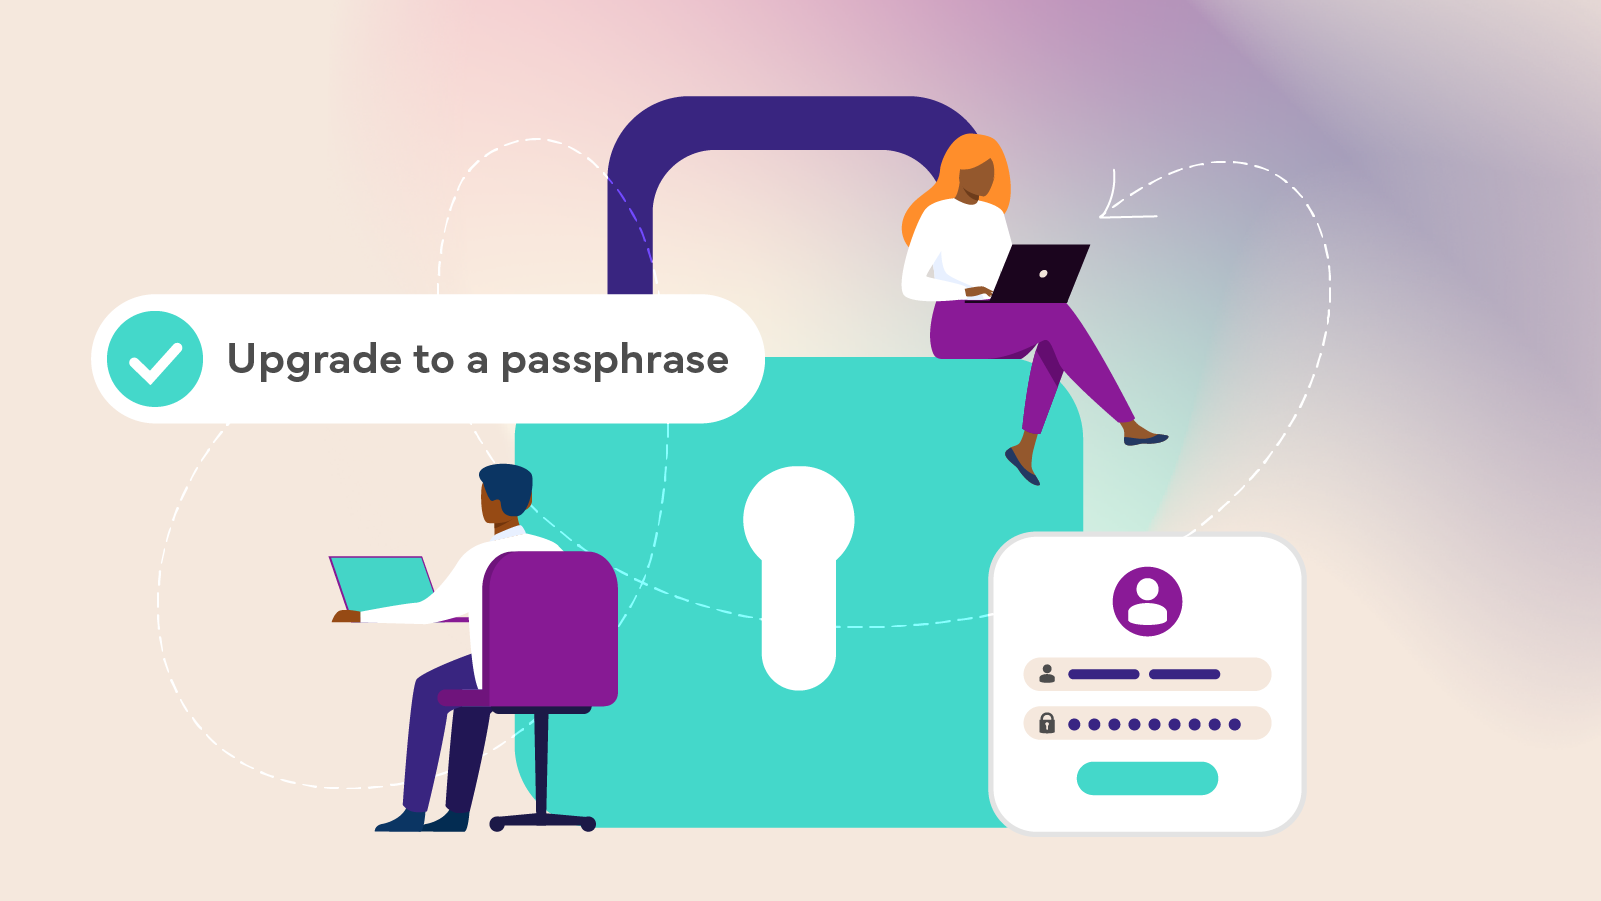
What is MFA?
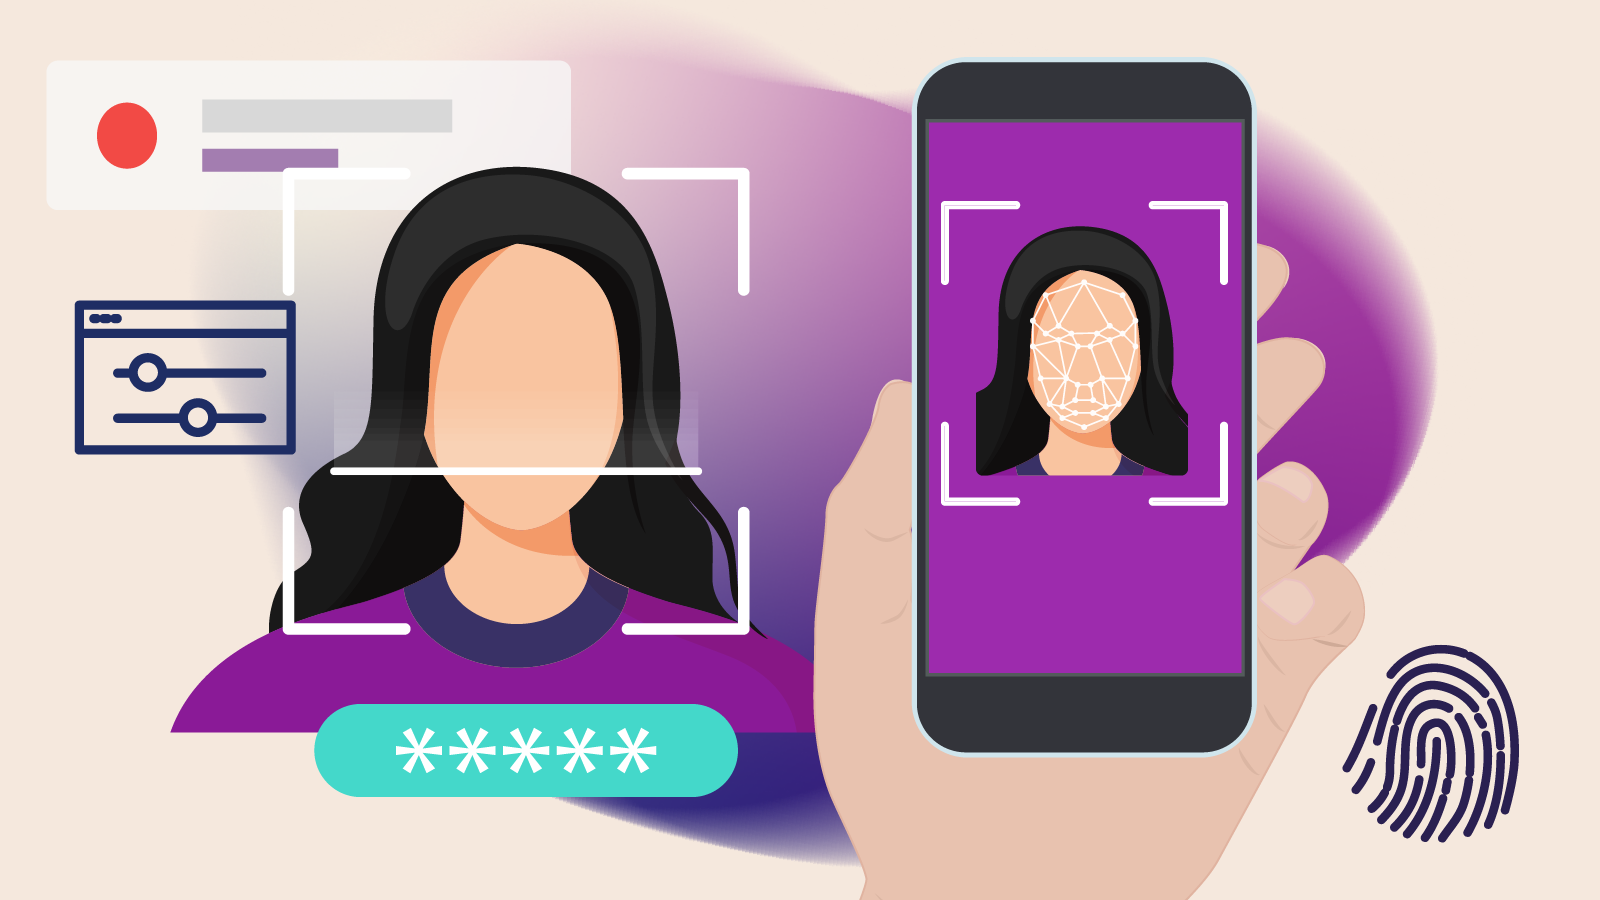
Multi-factor authentication (also called 2FA or two-step verification) adds an extra step to your login process.
Instead of only entering your username and password, you’ll also need to enter a one-time code sent to your phone or generated by an app.
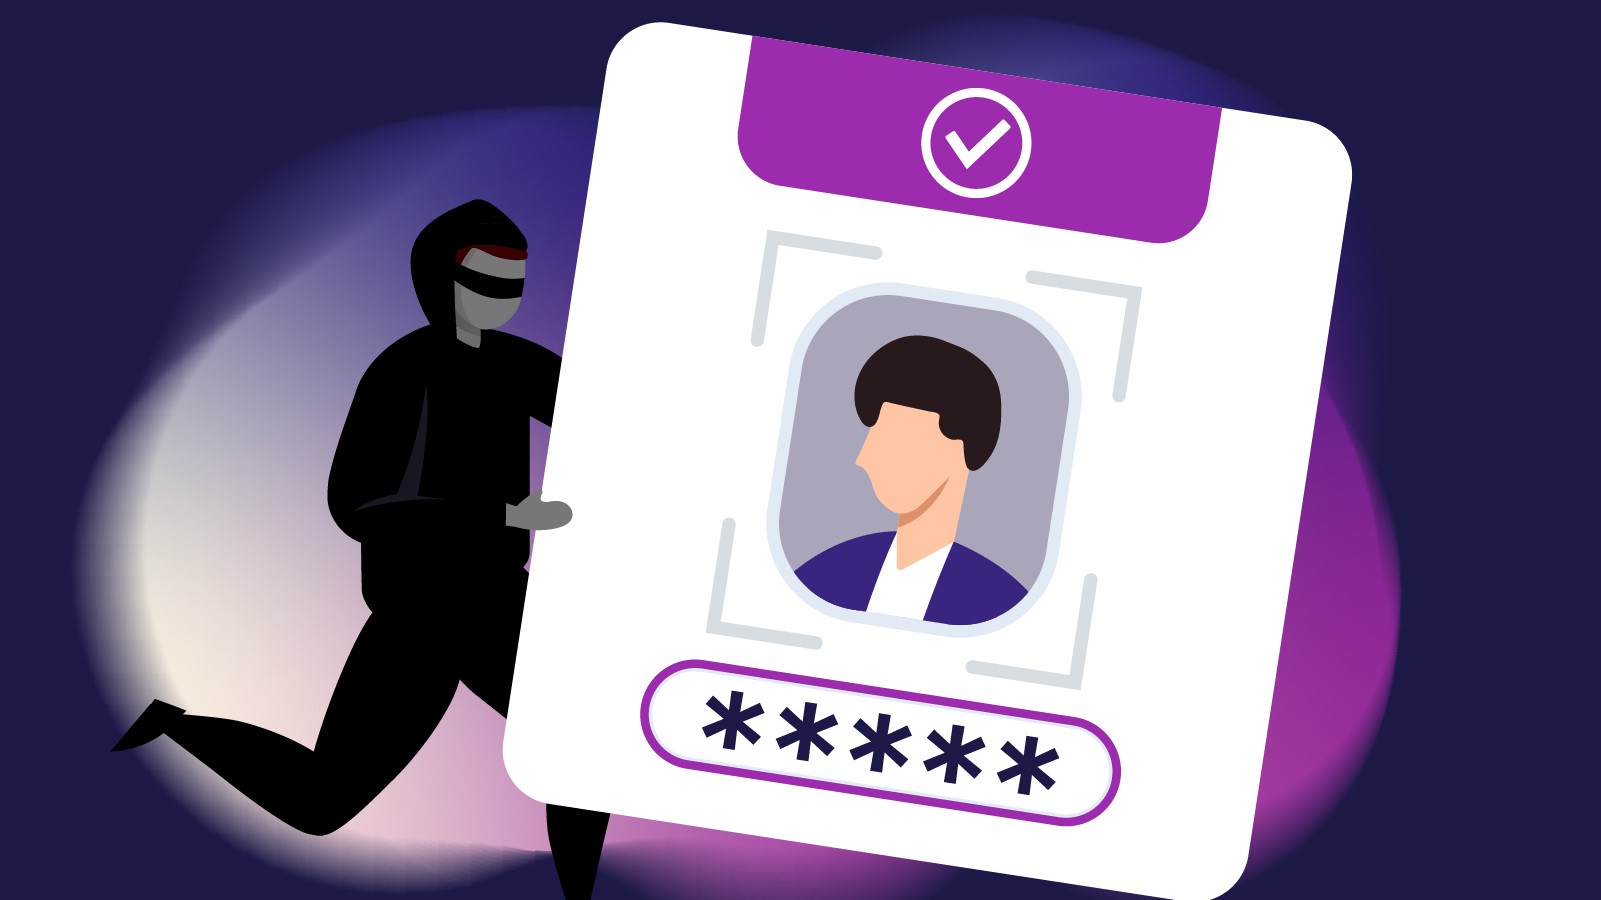
So even if a cyber criminal gets hold of your password, they still won’t be able to log in without that second factor.
Think of MFA as a digital deadbolt for your accounts.
Why MFA matters
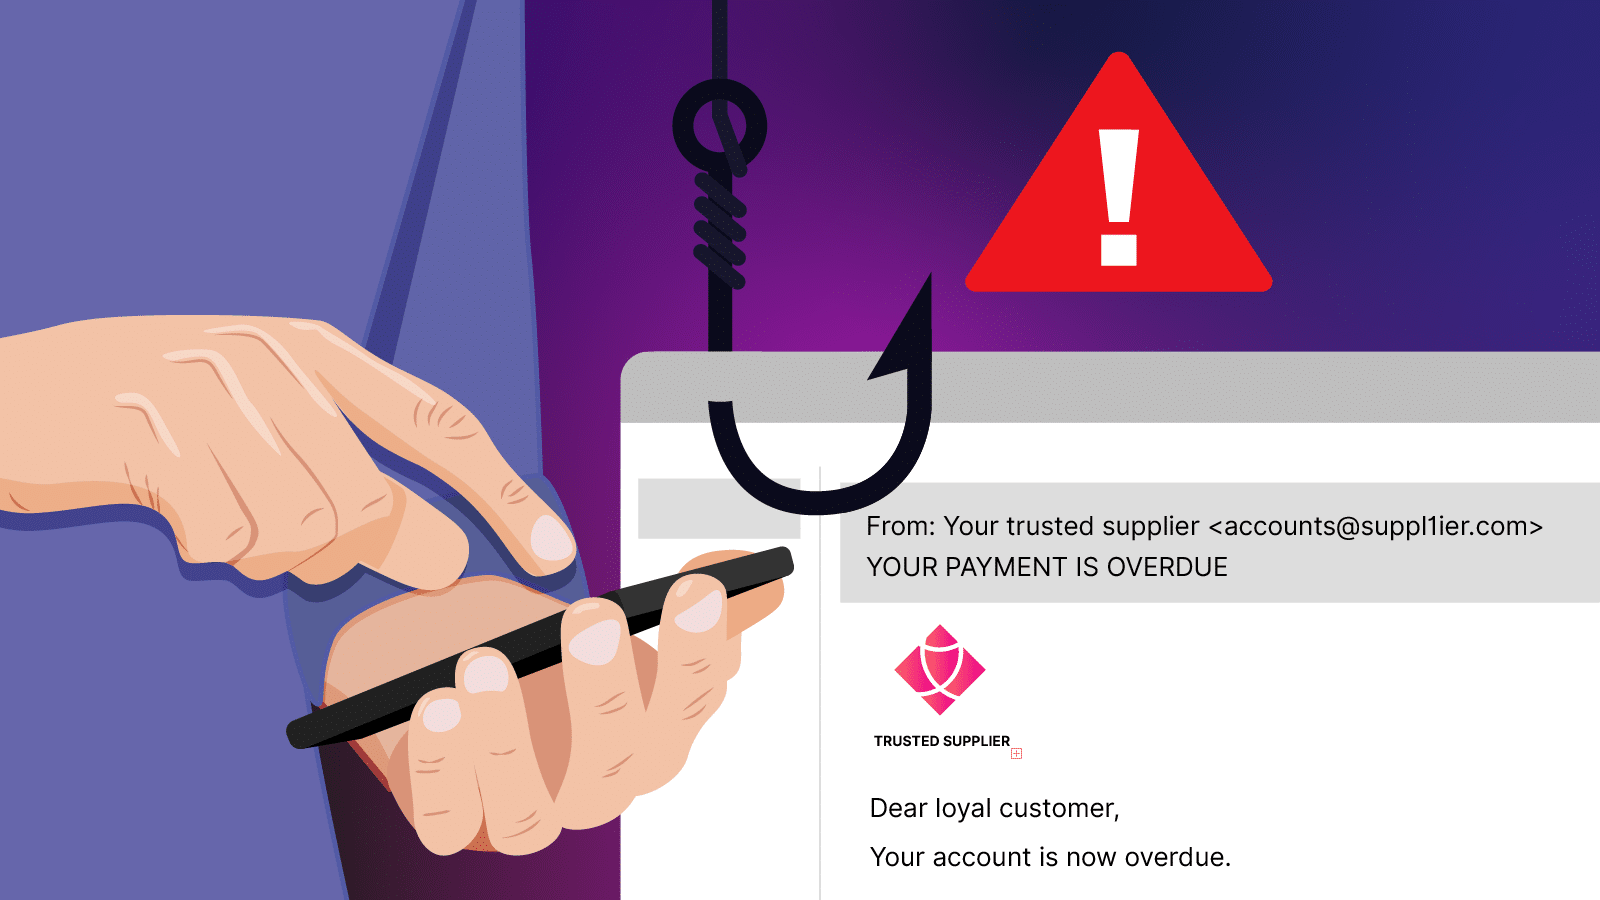
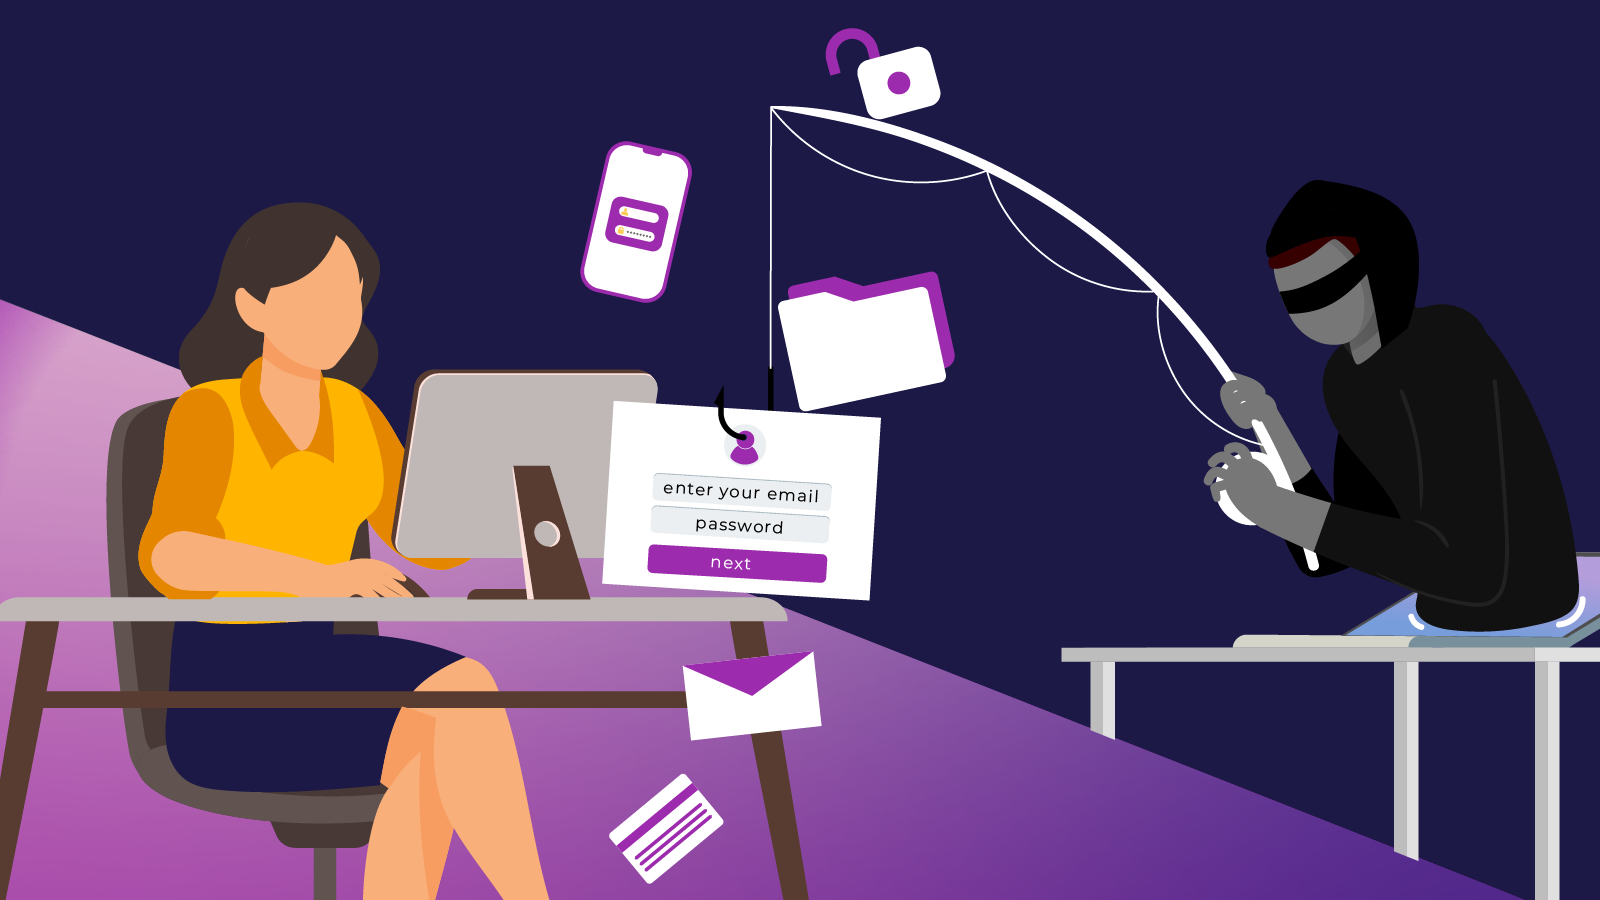
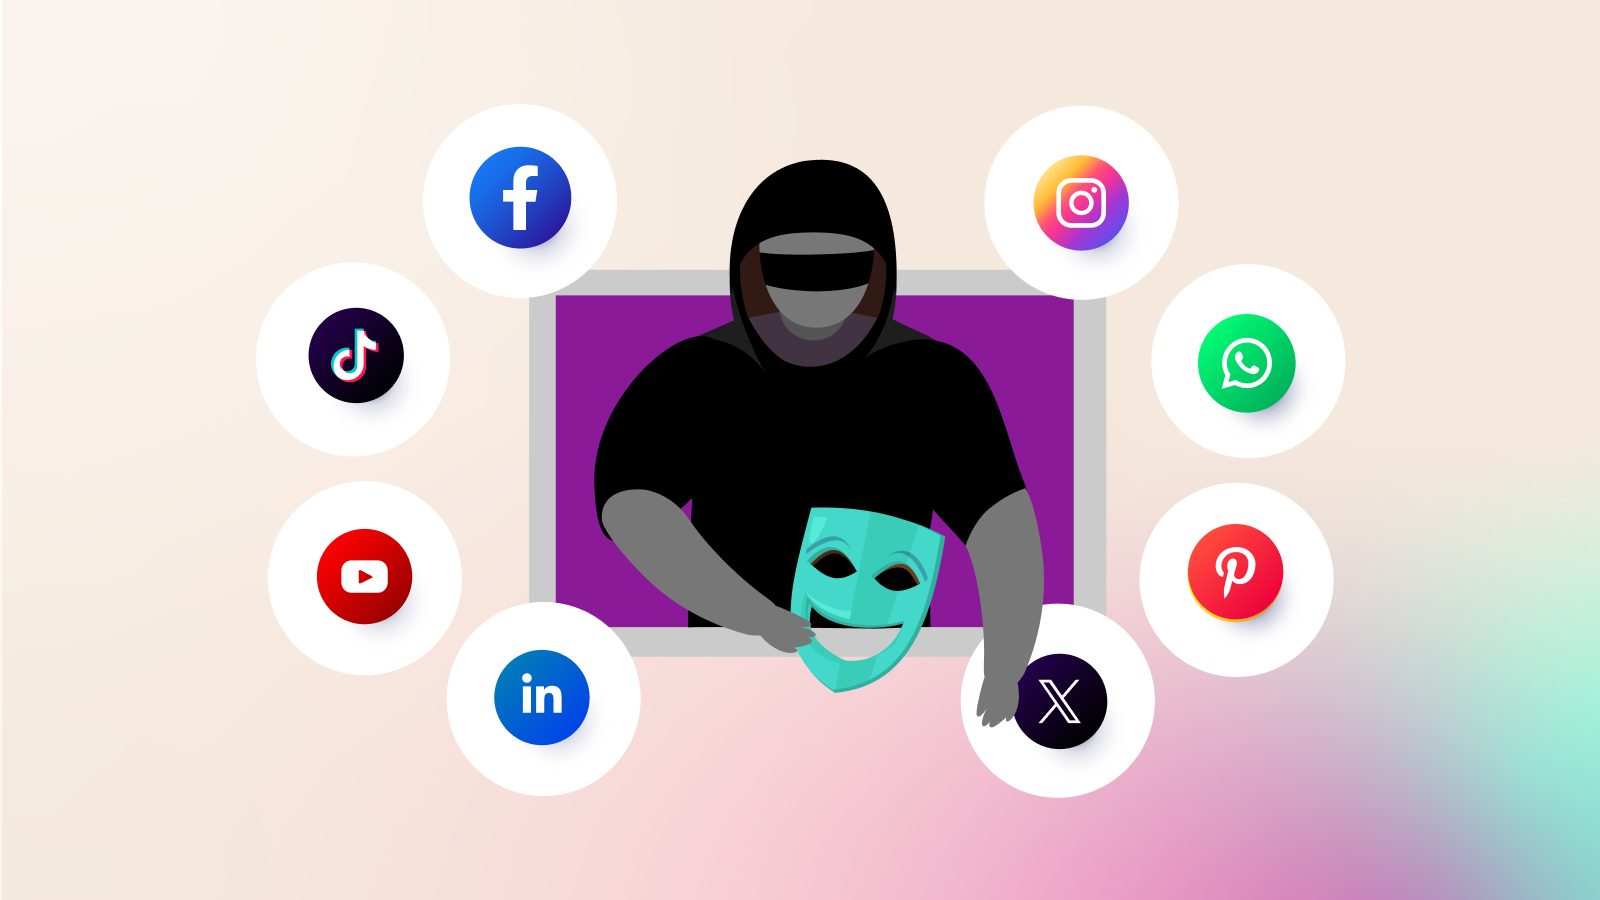
Passwords can be stolen in data breaches, guessed, or reused across multiple sites. MFA helps stop many common attacks, including credential stuffing and account takeovers.
It’s one of the most effective security steps you can take.

How to turn on MFA
While every platform looks slightly different, the setup process is usually similar.
Step 1: Log into your account
Go to the website or app you want to secure and sign in with your username and password.
Step 2: Open security settings
Look for Settings, Account, or Profile, then find a section called Security, Privacy, or Login settings.
Step 3: Find the MFA / 2FA option
This may be called:
- Multi-factor authentication (MFA)
- Two-factor authentication (2FA)
- Two-step verification
Select the option to begin setup.
Step 4: Choose your verification method
Common options include:
- Text message (SMS) codes
- Authentication apps (such as Google
- Authenticator, Microsoft Authenticator or Authy)
- Email codes
- Physical security keys
Authentication apps are generally the most secure, but any MFA option is better than none.
Step 5: Verify and finish
Follow the prompts:
- Enter the code you receive or,
- Scan a QR code with your authentication app and enter the generated code
Once confirmed, MFA is now active.
Helpful tips
- Update MFA settings if you change your phone number or device
- Save backup codes somewhere safe
- Never share your MFA codes with anyone
Make MFA a habit
You don’t need to be highly technical to stay cyber safe. Turning on MFA wherever it’s available, especially for email, banking and business tools, significantly reduces your risk of account compromise.
It’s fast, free and one of the smartest security moves you can make.
To learn more simple ways to protect yourself and your business online, explore our course catalogue and enrol in the free Cyber Wardens training program.